Master the Art of Ombre Brows: 9 Tips and Techniques for Perfectly Balanced Eyebrows
Your eyebrows frame your face and have the power to transform it completely. The trending technique of ombre brows is all about adding depth and texture to your eyebrows. It gives your brows a beautifully blended gradient effect from darker at the tail to lighter at the front, creating a perfect balance between natural and dramatic.
If you’re looking to master the art of these eyebrows, this blog post will compile nine tips and techniques to help you achieve those perfectly balanced eyebrows.
9 Tips and Techniques for Perfectly Balanced Eyebrows
Choose the Right Shade:
The first and foremost tip for achieving ombre brows is to choose the right shade. You can either go for a colour that closely matches your natural brow colour or a shade lighter for a more natural look. For a dramatic effect, you can choose a shade darker than your hair colour. Remember, the right shade is crucial for creating the perfect gradient and natural-looking brow.
Know Your Tools:
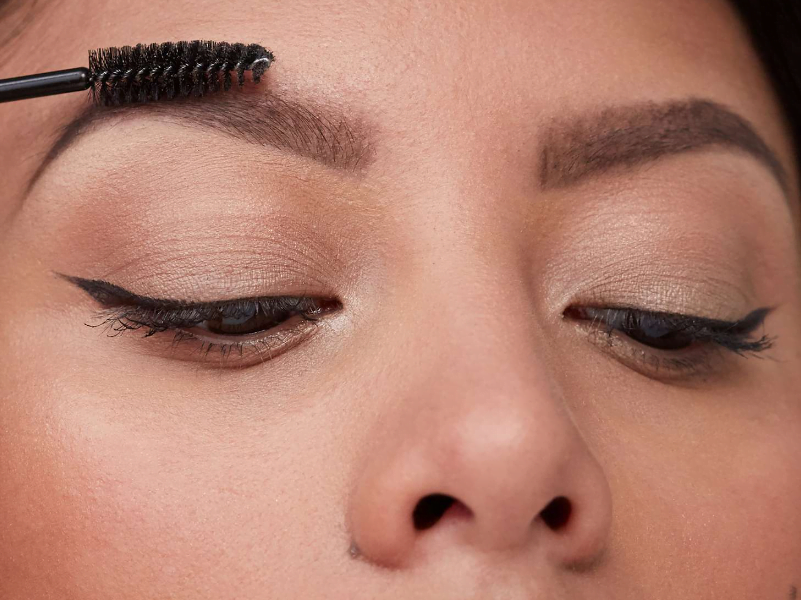
To master the art of ombre eyebrows, you must have the right tools. You’ll need a flat brush, an angled brush, a spoolie brush, and an eyebrow pencil or pomade. The spoolie brush is used to comb and define your eyebrows, while the angled brush is used to apply the product. The eyebrow pencil or pomade fills in any gaps in your brow and creates a base for the gradient effect.
Map Out Your Brows:
Before you start applying any product, you must map out your brows. This involves creating a guideline for the natural shape of your eyebrow. You can use a white pencil to outline the shape, ensuring that both brows are symmetrical. This step is crucial for achieving balanced ombre brows.
Start Light:
When it comes to creating ombre brows, it’s best to start light. Begin by lightly filling in the forefront of your brow with the lightest shade using an eyebrow pencil or pomade. Use the spoolie to brush the product through for a natural look. This step is crucial for maintaining the gradient effect.
Build Up Gradually:
Once you’ve created the base, you can build up the product gradually, moving towards the tail of your brow. As you move towards the outer edge, you can use a darker shade for a gradual ombre effect. Remember to blend the colours thoroughly with a spoolie brush to create a natural gradient.
Use Highlighter:
Highlighter is an essential tool for creating a flawless ombre brow. Once you’ve completed the shading, use a light, shimmery highlighter on the highest point of your brow arch and blend it well. This technique creates the illusion of a lifted brow, making your eyes look wider and brighter.
Set Your Brows:
After you’ve completed the shading and highlighting, set your brows in place using a clear or tinted brow gel. This step ensures that your brows stay put throughout the day.
Don’t Forget About Maintenance:
To keep your ombre brows looking their best, you must maintain them regularly. Trim any unruly hairs and touch up any faded areas as needed. Additionally, you may want to consider going for regular brow grooming appointments to keep them looking their best.
Experiment and Have Fun:
The most critical tip for mastering the art of this technique is to experiment and have fun. Don’t be afraid to try new shades or techniques to find the ideal look for you. Everyone’s brows are unique, and you’ll learn what works best for you over time. Remember, practice makes perfect.
Conclusion:
In conclusion, mastering the art of ombre brows might seem intimidating at first, but with the right tools and techniques, anyone can achieve the perfect balance between natural and dramatic. Remember to choose the right shade, know your tools, map out your brows, and start light, building up gradually. Experiment with different techniques and have fun, and soon you’ll have perfected the art of ombre brows. With the above tips, you’ll have the perfect set of ombre eyebrows in no time.


